Whether you’re looking to revamp your online persona or simply want a fresh start on Twitch, changing your username can be the first step.
However, it might seem a bit complex if you’re doing it for the first time. Fear not!
In this step-by-step guide, we’ll walk you through how to change your name on Twitch.
It’s a lot easier than you might think! So, sit back, read on, and prepare to create your new Twitch profile name.
Table of Contents
Things to Consider While Changing Your Name on Twitch
When considering changing your username on Twitch, there are several key factors you need to keep in mind. It’s not just about picking a new name; there’s much more to it.
Here are some of the most crucial points:
- Username Availability: Twitch usernames are singular to each user, just like any other online platform. This implies you can’t opt for a username that another user already possesses. The primary factor to consider is the availability of your selected new username.
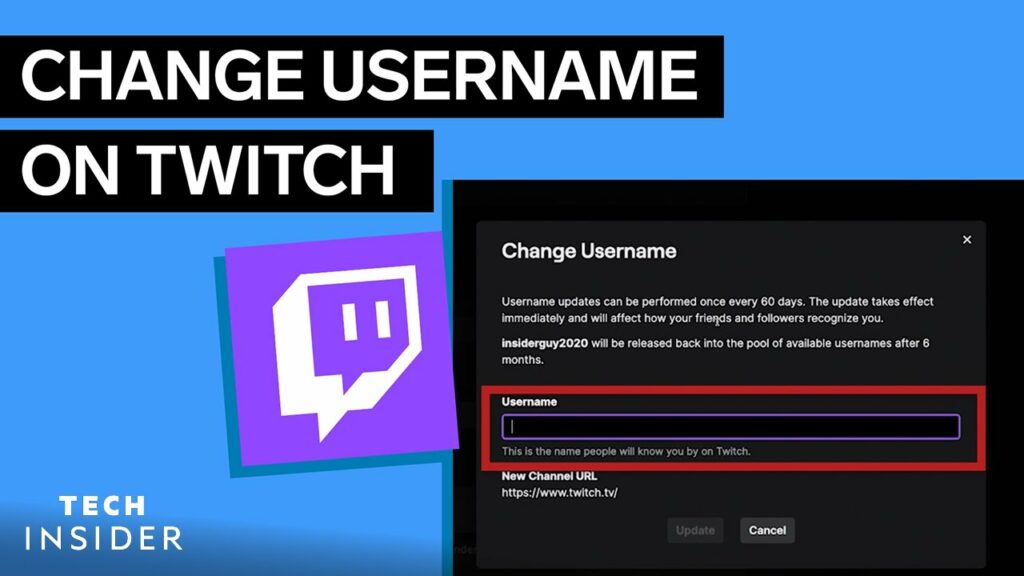
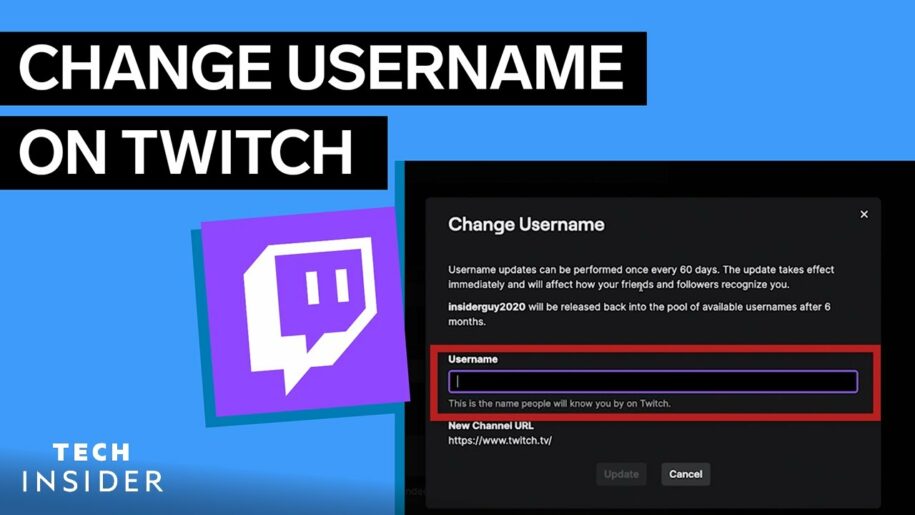
- Change Interval: Twitch permits users to modify their username once every 60 days. This indicates that post your name change, you will retain it for at least two months. Ensure that you’re content with your new selection!
- Impact on Your Channel: Your Twitch username isn’t merely a name—it also forms a part of your Twitch channel URL in the address bar. When you modify your username, your channel’s URL also alters, which might bewilder your viewers if they’re familiar with the old profile URL. It’s prudent to disseminate information about the change to avoid any confusion.
- Legacy Username: Twitch holds your old username for six months after you alter it. This measure is implemented to prevent potential confusion or instances of identity theft. However, remember that you might not be able to get your old name back after it’s released.
- Branding and Perception: If you’ve amassed a significant following, your Twitch username is integral to your brand. Changing it could not only puzzle your followers but also affect their perception of your channel. Ponder how your new username aligns with your online persona and the content you stream.
- Consistency Across Platforms: Maintaining consistency across platforms is vital for preserving a robust online presence. If you’re contemplating changing your Twitch username, consider altering your usernames on other social platforms to ensure alignment.
Furthermore, if you change a Twitch username, it doesn’t prevent you from escaping timeouts or bans. Moreover, if you’re a Twitch partner or affiliate, you may experience a temporary delay in your ad revenue following a username change.
Changing Your Twitch Username on a Desktop Browser

- Log into Twitch: Visit the Twitch website and log in with your current credentials. Ensure you’re signing in with the account whose username you wish to change.
- Navigate to Settings Menu: Once inside the desktop app, click on your profile icon in the top-right corner of the page. From the drop-down menu, select ‘Settings.’
- Locate Username Field: Under the ‘Profile’ tab, find the ‘Profile Settings’ section within the Settings page. Here, you’ll find your current username and an ‘Edit’ button next to it.
- Change Username: Click on the ‘Edit button.’ A new field will appear where you can input your new desired username. Remember, the new username needs to be unique, not already taken by another Twitch user.
- Update Changes: Hit the ‘Update button’ after typing your new username. The change will be successful if the username is available and complies with Twitch guidelines.
Changing Your Twitch Username on iPhone and Android

The Twitch app on a mobile device doesn’t let you change a Twitch username. But don’t worry; you can still do it on your phone using your web browser! Here’s how:
First, go to the Twitch website on the web browser on your phone. We will need to use the desktop version of the site, not the one made for phones.
On an iPhone, you will typically use the Safari browser, but the steps are similar if you’re using Chrome or Firefox:
- Open Safari (or your preferred browser).
- Navigate to the Twitch website.
- In Safari, tap the ‘AA’ icon on the left side of the address bar at the top.
- From the menu that appears, choose ‘Request Desktop Website.’ The site should reload in its desktop mode.
For Chrome or Firefox on iPhone:
- Open Chrome or Firefox.
- Go to the Twitch website.
- Tap the three-dot menu icon at the bottom-right corner of the screen.
- Scroll down the menu that appears and tap ‘Request Desktop Site.’ The website should reload in the desktop view.
On an Android mobile browser version, the steps vary slightly and are generally done in the Chrome browser, but the process is similar for other browsers:
- Open Chrome.
- Visit the Twitch website.
- Tap the three-dot menu icon at the upper-right corner of the screen.
- From the drop-down menu, check the box next to ‘Desktop site.’ The website should reload in its desktop format.
Now, you can follow the steps above to change your username. Remember, your new username has to be unique and follow Twitch’s rules. Ensure you’re satisfied with the new name because it will stick around for a while. And remember to tell your followers about your new name!
Conclusion
There you have it – how to change a Twitch name with a few clicks!
Remember, changing your Twitch username is a significant step that requires careful consideration. It’s not just about selecting a new name but also about understanding the potential impact on your brand, followers, and ad revenue.
However, with the simple process provided in this guide, we’ve made the technical process a breeze.
As you navigate the change, inform your viewers via the chat box, especially during streams, about the upcoming transition to avoid confusion.
Happy streaming!
- Mastering Social Media: Tips and Strategies for Effective Marketing - Outubro 3, 2023
- Harnessing the Power of Social Media for Elevating Customer Service - Outubro 3, 2023
- Social Media Marketing Insights and Strategies for Success - Outubro 3, 2023

